FAQ
How to assemble your hoslter
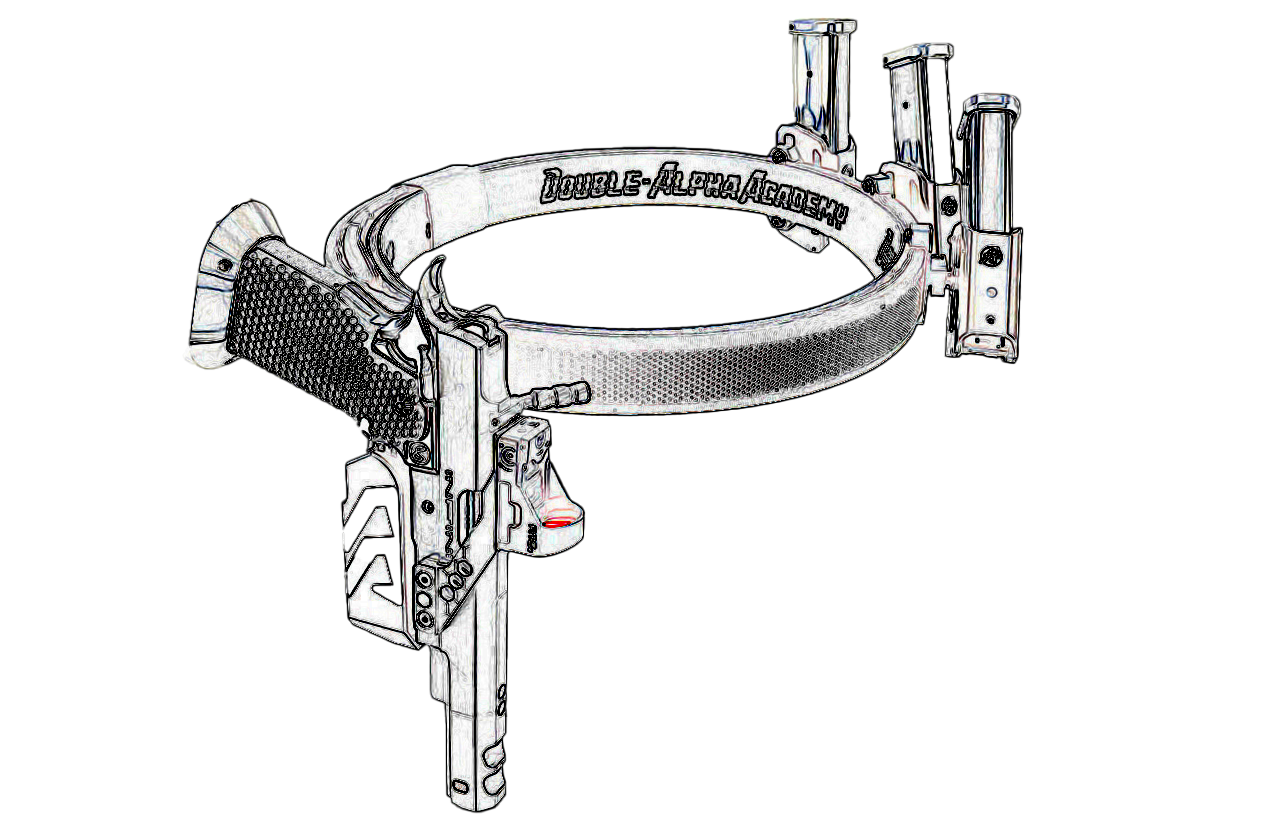
The holster is designed for use on dedicated shooting belts, which are rigid and of solid construction. (DAA Competition Belts or similar).
Loosen or completely remove the four M4 round-cap screws which hold the two Belt-Hanger Retention Bars (1) in place, position the holster on your belt, and re-tighten the four screws. Do not
over-tighten!
If your shooting belt is much narrower than 1.5”, you may need to use a spacer to fill the gap. However this will not be necessary with most commonly available belts.
Adjusting your Race Master Holster
Make sure that all testing and adjustments are done with an unloaded firearm! Familiarize yourself well with the workings of your new Race Master Holster before attempting to use it with a loaded firearm!
The Race Master Holster (can be purchased here: http://www.doublealpha.biz/race_master/holsters/race-master-holster) provides a wide range of adjustment options, to ensure that you can position it exactly right. Experiment to find the position, height, rotation, and angle that suit your needs best.
While you are testing and adjusting your holster, take care not to over-tighten the adjustment screws. You can tighten them more firmly when you find the settings you want.
Periodically check all the adjustment screws to ensure that they are fastened tightly.
The holster is designed to allow you access to most of the adjustment screws while it is worn on your body. This is extremely helpful for those fine-tuning adjustments. Always remove your gun from the holster when making adjustments.
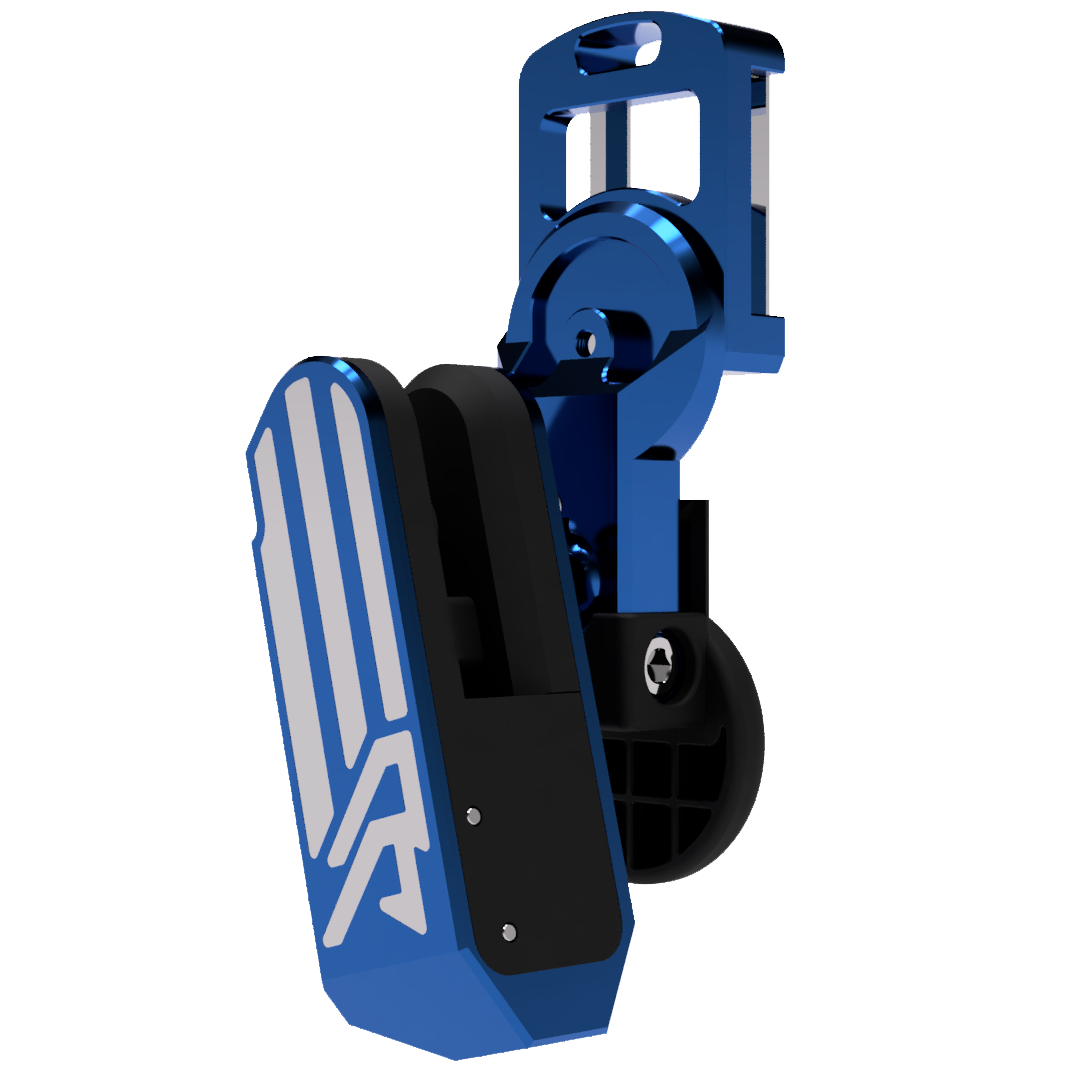
To rotate the holster forwards or backwards on your Belt-Hanger, loosen the Rotation Adjustment Screw (11). This is the only adjustment screw that is difficult to reach in some holster positions, so you should adjust it first. For most users the forward rotation position is best.
To adjust the height of the Holster Body (5), loosen the Elevation Adjustment Screw (7) and slide the Ball Joint Housing (6) up or down as needed. The Support Arm (3) is designed with a stopper at the bottom to prevent the holster body sliding off if not tightened.
To position the Holster Body (5) closer or further from your body, loosen the Horizontal Displacement Adjustment Screw (8) and slide the Ball Joint Rod (15) further out or in as needed. This rod provides an adjustment range of about 20 mm (3/4”). A thin line marked 10 mm from the end of the rod indicates its maximum extension. Do not extend the rod past this marking or it may not hold the Holster Body (5) securely.
Swivel and tilt of the Holster Body (5) is achieved by a ball joint socket which is firmly locked in place with two Ball Joint Lock-Up Screws (9). Loosening both these screws allows you to rotate the angle of the holster and tilt it towards or away from your body. When you have achieved the position you like, tighten these screws firmly. Make sure to check them periodically.
Locking and Tension Adjustment
The Insert Block Assembly (4) includes a Safety Lever (10) conveniently positioned below the grip of the firearm when holstered. This Safety Lever is spring-loaded, so it readily clicks from the locked to unlocked position with the flick of a finger. The Safety Lever can be engaged only when the gun is properly holstered, when the slide lock mechanism is in the “full down” position.
Tension adjustment (for models 2013 and older) of the draw is achieved by turning the Tension Adjustment Screw (14) – clockwise to increase the tension, counter clockwise to reduce it. Take care not to loosen the screw too much (beyond the point of contact with the Tension Spring (19)), as the screw can fall out. Several turns are required to go from the loose to the tight settings.
Replacing the Insert Block Assmebly
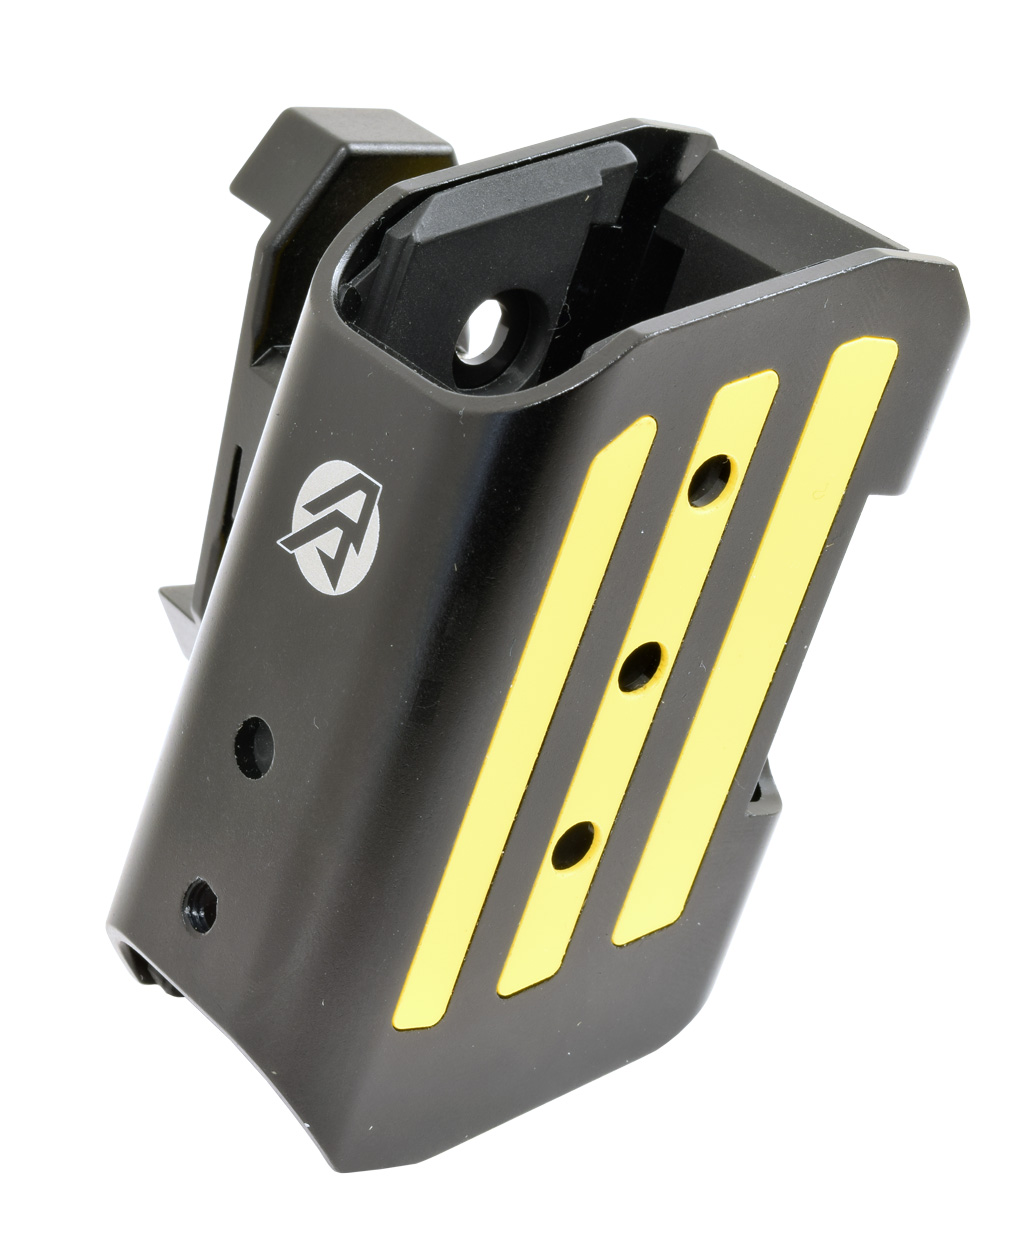
The Insert Block Assembly (4) is gun-specific, so you need a new insert when you change to another gun model. This is sold separately. Make sure your Insert Block Assembly is suited to the gun type you are using (it is marked on the front face of the block). If it is not, the holster does not function properly.
To remove the Insert Block Assembly (4), first unscrew completely the Tension Adjustment Screw (14) and remove it from the holster. It extracts with the Tension Spring (19) on it. Then, using the supplied 2.5 mm key, remove the two Insert Assembly Screws (12). Now you can slide the Insert Block Assembly (4) forward and out of the Holster Body (5). It may be a tight fit, so some wiggling may be required.
When using a second insert, you will need to use your original Tension Adjustment Screw (14), Tension Spring (19), and Pressure Plate (18). Take care not to lose these small parts in the assembly process.
Position the Pressure Plate (18) as shown in the picture. This part is directional, so make sure that the round indent (dimple) is above the centre hole and facing outwards. Hold the assembly horizontal (so the Pressure Plate does not slide out of position) and push the new Insert Block Assembly (4) into the Holster Body (5). Use the tip of a hex key to ensure the Pressure Plate (18) is aligned correctly so that the Tension Adjustment Screw (14) is inserted through its centre hole, allowing the spring to press on top of it. Tighten the Tension Adjustment Screw (14) until it catches in the nut inserted on the opposite side of the Insert Block Assembly (4).
Replace and tighten the two Insert Assembly Screws (12) to lock the new insert into place. Using the External Activation Lever (13), slide the Insert Slide Lock (17) up and down a few times to ensure it is moving as it should. In the down position, you should be able to engage the Safety Lever (10).
That’s it, you’re done and ready to use your holster with the new gun type.
Insert Block replacement for 2013 models and older video - click here
Parts
1. Belt-Hanger Retention Bars
2. Belt-Hanger
3. Support Arm
4. Insert Block Assembly
5. Holster Body
6. Ball Joint Housing
7. Elevation Adjustment Screw
8. Horizontal Displacement Adjustment Screw
9. Ball Joint Lock-Up Screws
10. Safety Lever
11. Rotation Adjustment Screw
12. Insert Assembly Screws
13. External Activation Lever
14. Tension Adjustment Screw (2013 models and older)
15. Ball Joint Rod
16. Insert Block
17. Insert Slide Lock
18. Pressure Plate
19. Tension Spring
.png)





.png)



.webp)
